Showing posts with label monstar. Show all posts

Saturday, December 11, 2010

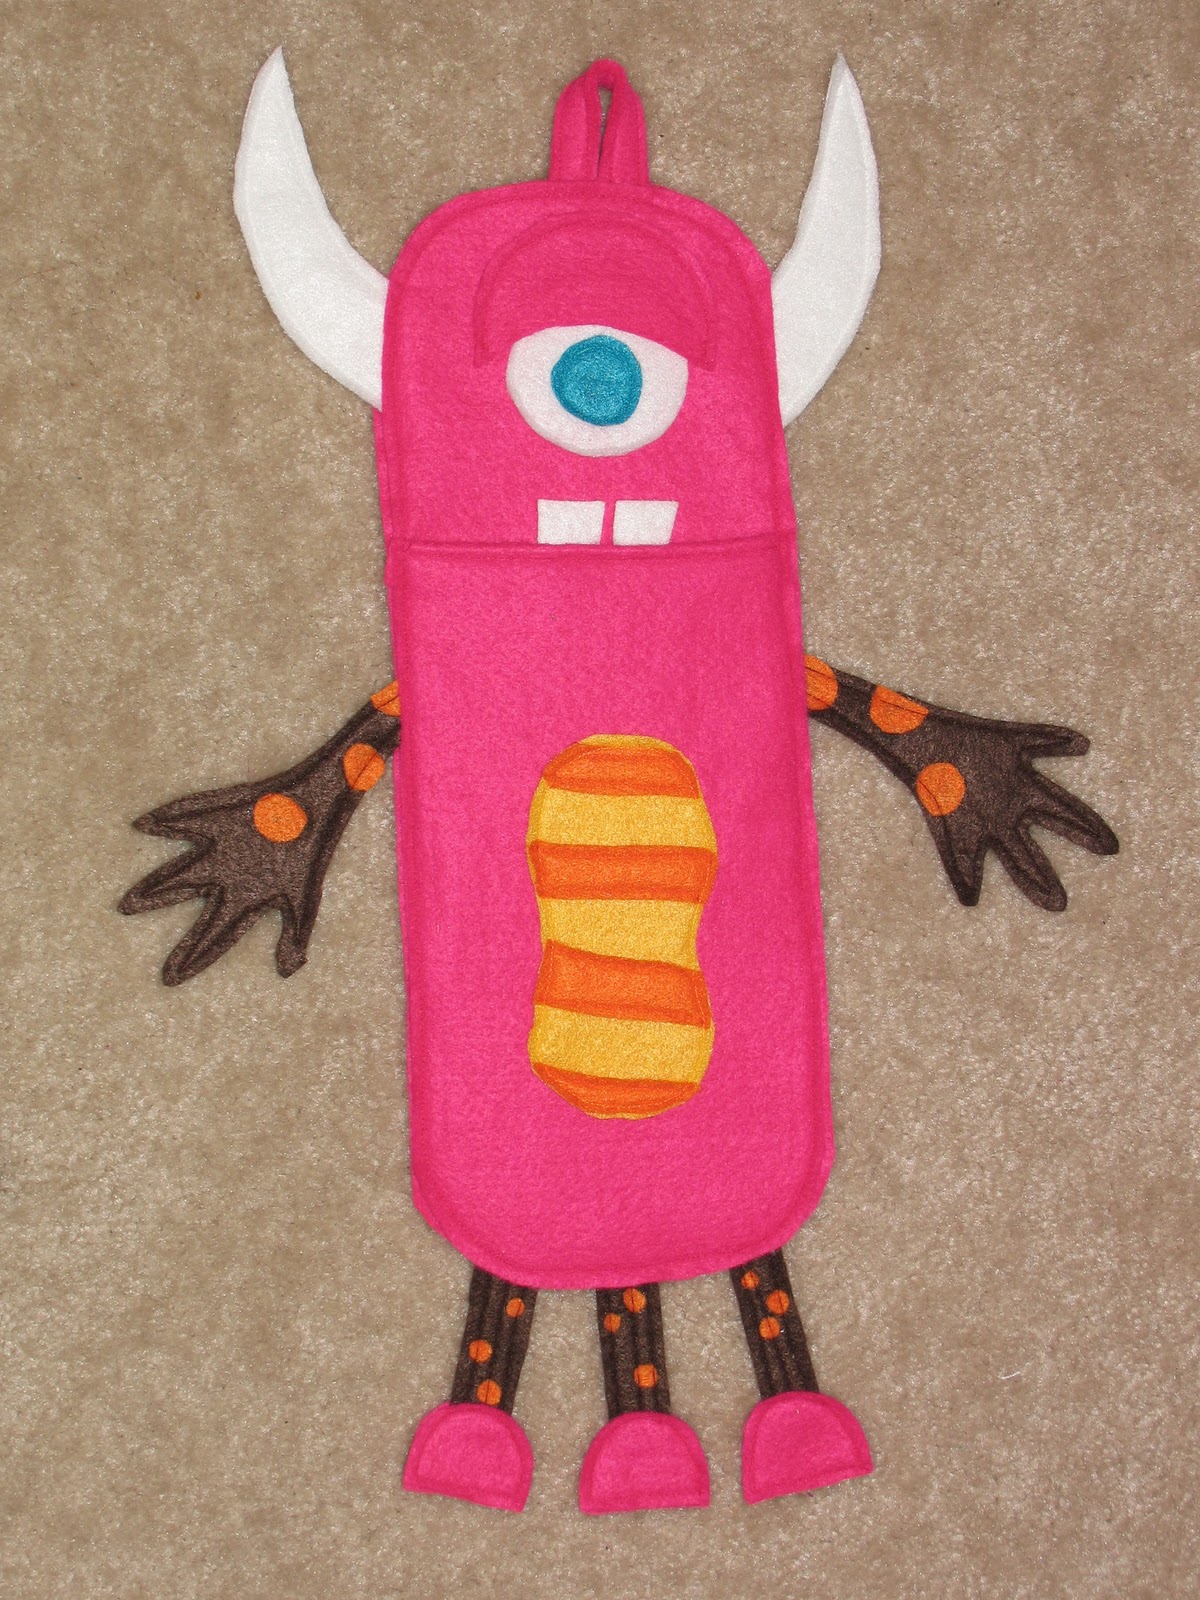
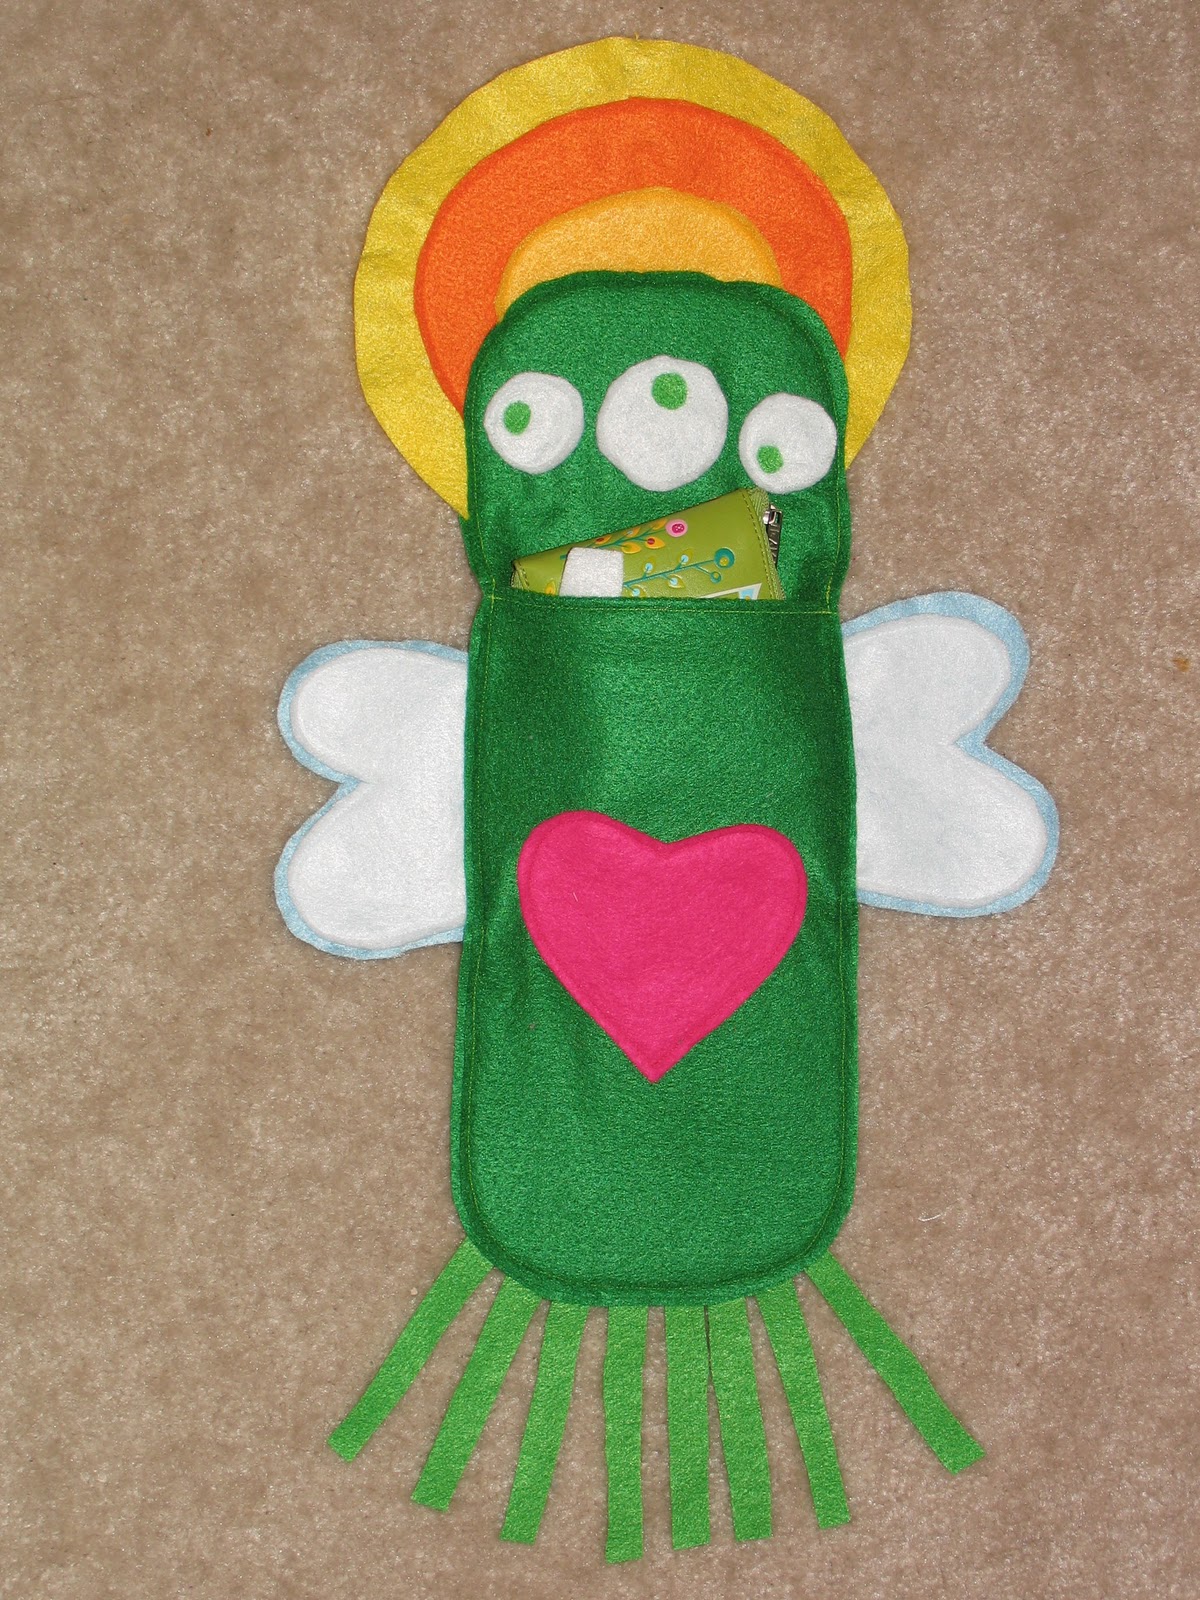
Monstar Christmas Stockings!!

This came from a great shop on Etsy and of course when I saw it I knew I had to make one for our family (I would have totally bought them but she didn't have enough variety for my family- I think hers are MUCH cuter!!!)!!! I needed to make our newest addition's stocking anyway so why not make a whole new set?!?!

Here is what I did....

Materials needed:
• lots and lots of felt (large pieces for the main stocking part and scraps for details)
• sewing supplies
• glue (for those tiny pieces you just can't sew or for all of the details if you want)

My crew of monstar stockings!

Me as a monstar (all crazy like :)

Pocket for stuffing yummy treats!!

My husband as a monstar (he's a bit of a grinch :)

Pocket detail

AJ (our 8 month old daughter) as a monstar (note the teeth- though now she has 4! :)

Pocket detail

Ethan our first child (he was still born but remains a part of our lives) as a monstar

Pocket detail

To make these I simply cut out 3 large rectangles with rounded corners (again, I am not a measurer so I just said this looks good and cut out my pieces). On one of the rectangles I cut off the top and made it the mouth and pocket for stuffing.

To create the loop to hang it from I cut out 2 small, long rectangles and stitched them together (to make it thick and stronger) and then folded it and touched the 2 raw edges together and pinned it in between the front and back panels at the top

Then the fun part...decorate...create your monster add all the details and when you like your monstar the way you like it figure out what needs to be sewn first and start sewing!!! *note to make it sturdier I cut out 2 of each body part that would hang off the main rectangle base and stitched them together but only glued or stitched details to the front.

For me, I stitched down the details on arms, hair, feet, ect... or glued them down if they were too small (and waited for the glue to dry before stitching anything to them). Then I took the mouth pocket part and I folded over the edge and pinned it and then added my tongue or teeth where I wanted them and pinned them then stitched straight across it (stitching showing). Then I added the tummy detail sewing it to the pocket part only. Then for the wings I stitched a line down the back piece. Next I stitched down the eyes/ and face detail. Then I took any body part that would hang out of the felt (arms, legs, tentacles, horns, hair) and placed them between the front and back panels and then placed the pocket part onto the front and stitched around the perimeter of the main rectangles. I added shoes and stitched around the outside of it.

It took me a while to figure out the best order to sew it all in (esp because I wanted to us matching thread for the body parts so it took A LOT of switching thread and I tried to minimize when possible!) but once I did I was so glad I did it. I would have had to leave out a lot of things had I not planned it a bit.

Now they are hung and stuffed and ready for Christmas morning (which will be tomorrow for us since we are going to be traveling for the holidays but still wanted to have AJs first "Christmas" be in our new house!)

Wednesday, June 24, 2009

T-Shirt Monstar Pot Holders

Materials Needed:
• old t-shirts or scrap material
• quilt batting
• sewing machine & thread
• needle & thread
• scissors


*close up


*close up

To make these fun little pot holders I grabbed some of my scrap t-shirt material and picked the one I wanted for the background and cut out a "square" (no exact measurements again). I used that first one I cut out as a template to cut out another of the same fabric and 2 of a different fabric for the back. Next, using my template, I cut out some quilt batting the same size (you will need at least 2, I used 4 because I wanted mine to be well insulated). I machine sewed the bating to the fabric, right side of fabric out. I did this for the other 3 sides as well. Then I took my 2 front pieces and cut out shapes from my other scrap t-shirt material and made my monstar on top. When I got it the way I wanted it I hand stitched the monstar onto the top fabric and top batting. When I was finished I put the monstar facing down on top of the back piece facing up (right sides together) and stitched with my machine all the way around leaving a large gap to flip it inside out. The first time I didn't leave enough space to flip it forgetting how bulky it would be with the 2 layers of batting so I had to seam rip it and re-sew. Then once it was flipped inside out I hand sewed it shut.

Monday, June 22, 2009

Duct Tape Monstar Bookmark

Materials Needed:
• Duct Tape
• craft knife
• self healing cutting board
• paper & pencil


* front & back

This project is similar to the Duct Tape Monstar Coaster project I did earlier, only this time I made a cut out book mark that I so often find myself needing.

Once again I recommend the self healing cutting board this way you can stick the duct tape down and cut the shape you need with your craft knife.

To start I sketched out the design keeping it more vertical than horizontal. Then I used that to make some templates out of paper. Then I grabbed the color of Duct Tape I wanted to be my background and taped down a few strips overlapping about the width and height of how I wanted the book mark to be then I flipped it over and taped the other side so that I was left with the colored Duct Tape showing on both sides. Then I took the colors I wanted the body of my monstar to be and placed it down on the self healing cutting board and placed my template on top and cut out the monstars body. Then I peeled it up and placed it on the background piece. I continued this method until I had the entire front of the monstar done. Then I cut out around the entire monstar.

Once he was cut out I then turned it around and prepared to do the back side of my monstar. I started the same why by putting the Duct Tape down on the self healing cutting board but when I got to the template part I flipped it over to the wrong side facing up. Then I cut out my shapes and placed them on the back side of the background. Now my monstar is ready to snuggle up with a nice good book.

Tuesday, June 16, 2009

Duct Tape Monstar Coasters

Materials Needed:
• duct tape
• craft knife
• scissors
• self-healing cutting board


Duct tape is always a fun medium. For this project I highly recommend working on a self healing cutting board because you can stick the duct tape down on it to cut it and peel it off easily.

To start I got my self healing cutting board and taped strips of one color of the duct tape to make the background once I had one side down I flipped it over and placed strips of the same color down but in the opposite direction (ie. if you laid your first ones down horizontally the other side was laid down vertically giving it a more secured base). When I had a big enough area covered in duct tape front and back I cut out a square (this would be the size of the final coaster). Once that was done I created my monstars using by laying down a few strips of color for the monstar base and then I cut it out to the shape I wanted. Then I placed it on top of the square and trimmed off any that wasn't on the square. Then I added a duct tape boarder in a different color. To do this I just laid out a piece of duct tape and cut it in half length wise, then taped it on the sides and folded it over to the back. Then I would tape down a piece of the desired color and cut out little details that I wanted to add.

What is nice about working with duct tape- if you place something and want to change it you can easily pick it up and move it.

Monday, June 15, 2009

Felt Robot Monstar

Materials Needed:
• felt (assorted colors)
• embroidery needle
• embroidery thread
• googly eyes
• fiber fill
• hot glue & hot glue gun


To make this little robot monstar I started off with a sheet of light blue felt and a darker blue felt (for the back of this monstar). I drew the shape of the monstar that I wanted and then cut out both the light blue and dark blue felt giving me 2 of the same shape pieces. Next I placed the mouth and heart on and sewed them to the front of the light blue felt.

Then I grab both the light blue felt cutout and the darker blue felt cut out and I put them wrong sides together (right sides facing out). Then I got white embroidery thread and my embroidery needle and did a blanket stitch all around the robot, stuffing it with fiber fill as I went (you may need a chopstick to push fiber fill into smaller areas). When I finished sewing all the way around I got 2 different sized googly eyes and hot glued them on. Voila a cute little robot monstar!

Thursday, June 11, 2009

Hand Monstar Puppet

Materials Needed:
• fleece (3 different colors)
• yarn
• googly snap on eyes
• fiber fill
• sewing machine & thread
• sewing needle & thread


* front


* back


* action shots

My brother's birthday is coming up and he wrote me asking if I would make him a puppet for his birthday. He asked for a moving mouth (most important he said), arms and something about wires (I didn't add wires-hope it works out ok for him). Having never made a puppet before (minus maybe a brown lunch bag puppet when I was a child) I really had no idea where to start. So I went searching on line and ended up finding a cool make your own monster puppet which looked really awesome so I ordered one for him and thought it would be a fun thing for him and his daughter to do together. Finished...or so I thought. But the idea kept spinning in my head how would I make a puppet; where would I start. So after many days of thinking it this is what I came up with.

First, I took the blue fleece and doubled it onto itself and drew the basic shape of my hand with my thumb tucked in, then I cut it out about a 1/2 in. on all sides (for sewing and for extra fabric inside).Now I had 2 pieces of the same shape. Then I took one of those pieces and figured out where the top of my thumb would hit and I marked it and then giving about 1/2 in. extra I cut it out following the same curve I had before. Then I took my two blue pieces and lined them up on top of each other and figured out where it would open for his mouth. Next I got my red fleece and cut out the mouth using the blue pieces open as a template (I am one of those "eye ball it" type crafters- no exact measurements here).

Once that was all cut, I went back to my blue fleece (doubled up again) and cut 2 crude arms with "hands" (just the area where his hands are gets bigger). Now I had 4 arms (2 fronts and back) and then I took it all to my sewing machine.

First, I took the arms and pinned them front to back and sewed them on the sides and hand area leaving the bottom un-sewn so I could stuff it. After both were sewn I then stuffed them with the fiber fill. Next, I pinned the 2 blue pieces together and then I pinned the arm in (I started with just one side than I did the other). With the arm I had to make sure it was tucked into the middle of the blue fleece so that when it was done being sewn and turned inside out his hands would be showing,(if I had them facing out then when I turned it inside out it would be on the inside). Then I stopped pinning where the mouth would start (telling me to stop sewing). I sewed one side then the other (pinning the next arm once I had finished the first side). Now I was left with the mouth I pinned it on and sewed it up.

Next, I flipped him inside out and got my goggly snap on eyes and placed them where I thought looked right, once I found that place I marked it and then cut a tiny slit into it, slid my eye in and snaped on the back part. Next I got some scrap yarn and took it and wrapped it around my hand several times. Once I got enough "hair" I took it off my hand and cut it in half then I took my needle and thread and hand stitched it onto his head when he had his hair finished I gave him a hair cut, mainly cutting any that were a lot longer than the rest. Lastly, I cut out an orange tounge and hand sewed it into the mouth using a slip stitch.

Once it was finished I had to of course play with it to test it out. It isn't the best puppet in the world but it was simple to make and lots of fun to play with. Reminds me a lot of The Muppets or Fraggle Rock.

Embellished Work Apron

Materials Needed:
• apron
• computer
• Dark t-shirt transfers (I use Avery Ink Jet Dark T-shirt Transfer paper- I like theirs the best- plus I have an ink jet)
• printer
• silk flowers
• thread & needle
• beads


*detail

This project came along because I really needed an apron. I am always doing messy crafts and never fail to get it all over my clothes, so instead of having to change clothes I decided an apron was the way to go. So I bought a cheap all black apron and decided to embellish it with a few touches.

First I found some silk flowers that I had from a table decoration that was at my friends wedding and I thought I would like to sew them onto the sides of the pockets (it felt more magical that way). So I took the flowers apart. Taking the stems off and then popping apart the middle part of the flower and was left with petals with a hole in the center. To attach these I got some thread and knotted it then started from inside the pocket and brought my needle up then I placed 2 set of petals through the needle and then a small bead then brought my needle back through the other side then went back up and placed another bead and did that until I had 3 or more beads for the center of the flower.

Next I went to my computer and drew up a monstar for the pocket (he is supposed to be a helper monstar handing me glue, pencil, scissors, paint brush- you know whatever I need :) Then I also made some text that spelled out Monstar Maker and then once that was all designed I printed it out on a quality print setting.

Once it was printed I cut out my designs leaving a white boarder around my little monstar helper. The text already had a white box around it so I just cut out the box. Then I took my monstar and placed him where I wanted him and ironed him on according to the directions from the transfer paper and then did the same for the letters. Now this didn't come out perfect but I still wanted to post it. I think either the iron was set too high or the fabric dye maybe came through the iron on so it has a sort of dirty look to it but I figure it is just gonna get dirty anyway but it was a fun and simple project and now I have a handy dandy work apron!